Provision a FusionAuth instance in a .NET Aspire AppHost
Let's self-host FusionAuth in a container, running on a postgres db, and orchestrated with .NET Aspire.
Introduction
FusionAuth is a powerful, developer-friendly authentication and authorization platform that can be self-hosted. In this post, we'll set up FusionAuth with PostgreSQL in a .NET Aspire application.
Prerequisites
- .NET 9 SDK
- Docker
- .NET Aspire
Project Structure
Our solution will have the following structure:
MyApp.AppHost/
├── AppHost.cs
├── FusionAuthExtensions.cs
├── kickstart/
│   ├── kickstart.json
│   ├── css/
│   │   └── styles.css
│   └── emails/
│       ├── magic-link.html
│       └── magic-link.txt
└── MyApp.AppHost.csproj
Setting up the AppHost
Let's start with the main AppHost configuration:
using MyApp.AppHost;

var builder = DistributedApplication.CreateBuilder(args);

string homeDirectory = Environment.GetFolderPath(Environment.SpecialFolder.UserProfile);
var postgres = builder.AddPostgres("postgres")
        .WithLifetime(ContainerLifetime.Persistent)
        .WithBindMount(Path.Combine(homeDirectory, "myapp_postgres"), "/var/lib/postgresql/data")
        .WithHostPort(5432);
var fusionAuthDB = postgres.AddFusionAuthDb();
var fusionAuthContainer = builder.AddFusionAuthContainer(postgres, fusionAuthDB);

builder.Build().Run();
FusionAuth Extensions
Create a FusionAuthExtensions.cs file to handle the FusionAuth container setup:
namespace MyApp.AppHost;

public static class FusionAuthExtensions
{
    public static IResourceBuilder<PostgresDatabaseResource> AddFusionAuthDb(this IResourceBuilder<PostgresServerResource> postgres)
    {
        var fusionAuthDB = postgres.AddDatabase("fusionauthdb", "fusionauth");
        return fusionAuthDB;
    }

    public static IResourceBuilder<ContainerResource> AddFusionAuthContainer(this IDistributedApplicationBuilder builder, IResourceBuilder<PostgresServerResource> postgres, IResourceBuilder<PostgresDatabaseResource> fusionDb)
    {
        string kickstartHostFolderPath = Path.Combine(Directory.GetCurrentDirectory(), "kickstart");
        string kickstartContainerFolderPath = "/usr/local/fusionauth/kickstart";
        string kickstartContainerFilePath = $"{kickstartContainerFolderPath}/kickstart.json";

        var fusionAuth = builder.AddContainer("fusionauth", "fusionauth/fusionauth-app:latest")
            .WithHttpEndpoint(9011, targetPort: 9011)
            .WaitFor(postgres)
            .WithBindMount(kickstartHostFolderPath, kickstartContainerFolderPath, isReadOnly: true)
            .WithEnvironment(ctx =>
            {
                string connectionString = postgres.Resource.GetConnectionStringAsync(CancellationToken.None).Result;
                if (string.IsNullOrEmpty(connectionString))
                {
                    throw new Exception("Failed to get FusionAuth database connection string");
                }
                Func<string, string?> getConnectionStringPart = (string part) => connectionString.Split(';').FirstOrDefault(p => p.StartsWith(part))?.Split('=')[1];
                string host = "host.docker.internal";
                string? port = getConnectionStringPart("Port");
                string? user = getConnectionStringPart("Username");
                string? pass = getConnectionStringPart("Password");
                string db = fusionDb.Resource.DatabaseName;

                if (host == null || port == null || user == null || pass == null || db == null)
                {
                    throw new Exception($"Failed to get FusionAuth database connection details: {host}, {port}, {user}, {pass}, {db}");
                }

                ctx.EnvironmentVariables["DATABASE_URL"] = $"jdbc:postgresql://{host}:{port}/{db}";
                ctx.EnvironmentVariables["DATABASE_USERNAME"] = user;
                ctx.EnvironmentVariables["DATABASE_PASSWORD"] = pass;
                ctx.EnvironmentVariables["FUSIONAUTH_APP_KICKSTART_FILE"] = kickstartContainerFilePath;
            })
            .WithReference(fusionDb);
        return fusionAuth;
    }
}
Kickstart Configuration
The kickstart configuration automatically sets up FusionAuth with our custom settings. Create the kickstart folder in the root of the project:
mkdir -p kickstart
cd kickstart
git clone https://github.com/FusionAuth/fusionauth-example-kickstart.git
cd fusionauth-example-kickstart
cp -r . ../
cd ..
rm -rf fusionauth-example-kickstart
Be sure to edit the kickstart/kickstart.json file to set the fields to your desired values.
Running the Application
- Start the application:
dotnet watch --project MyApp.AppHost
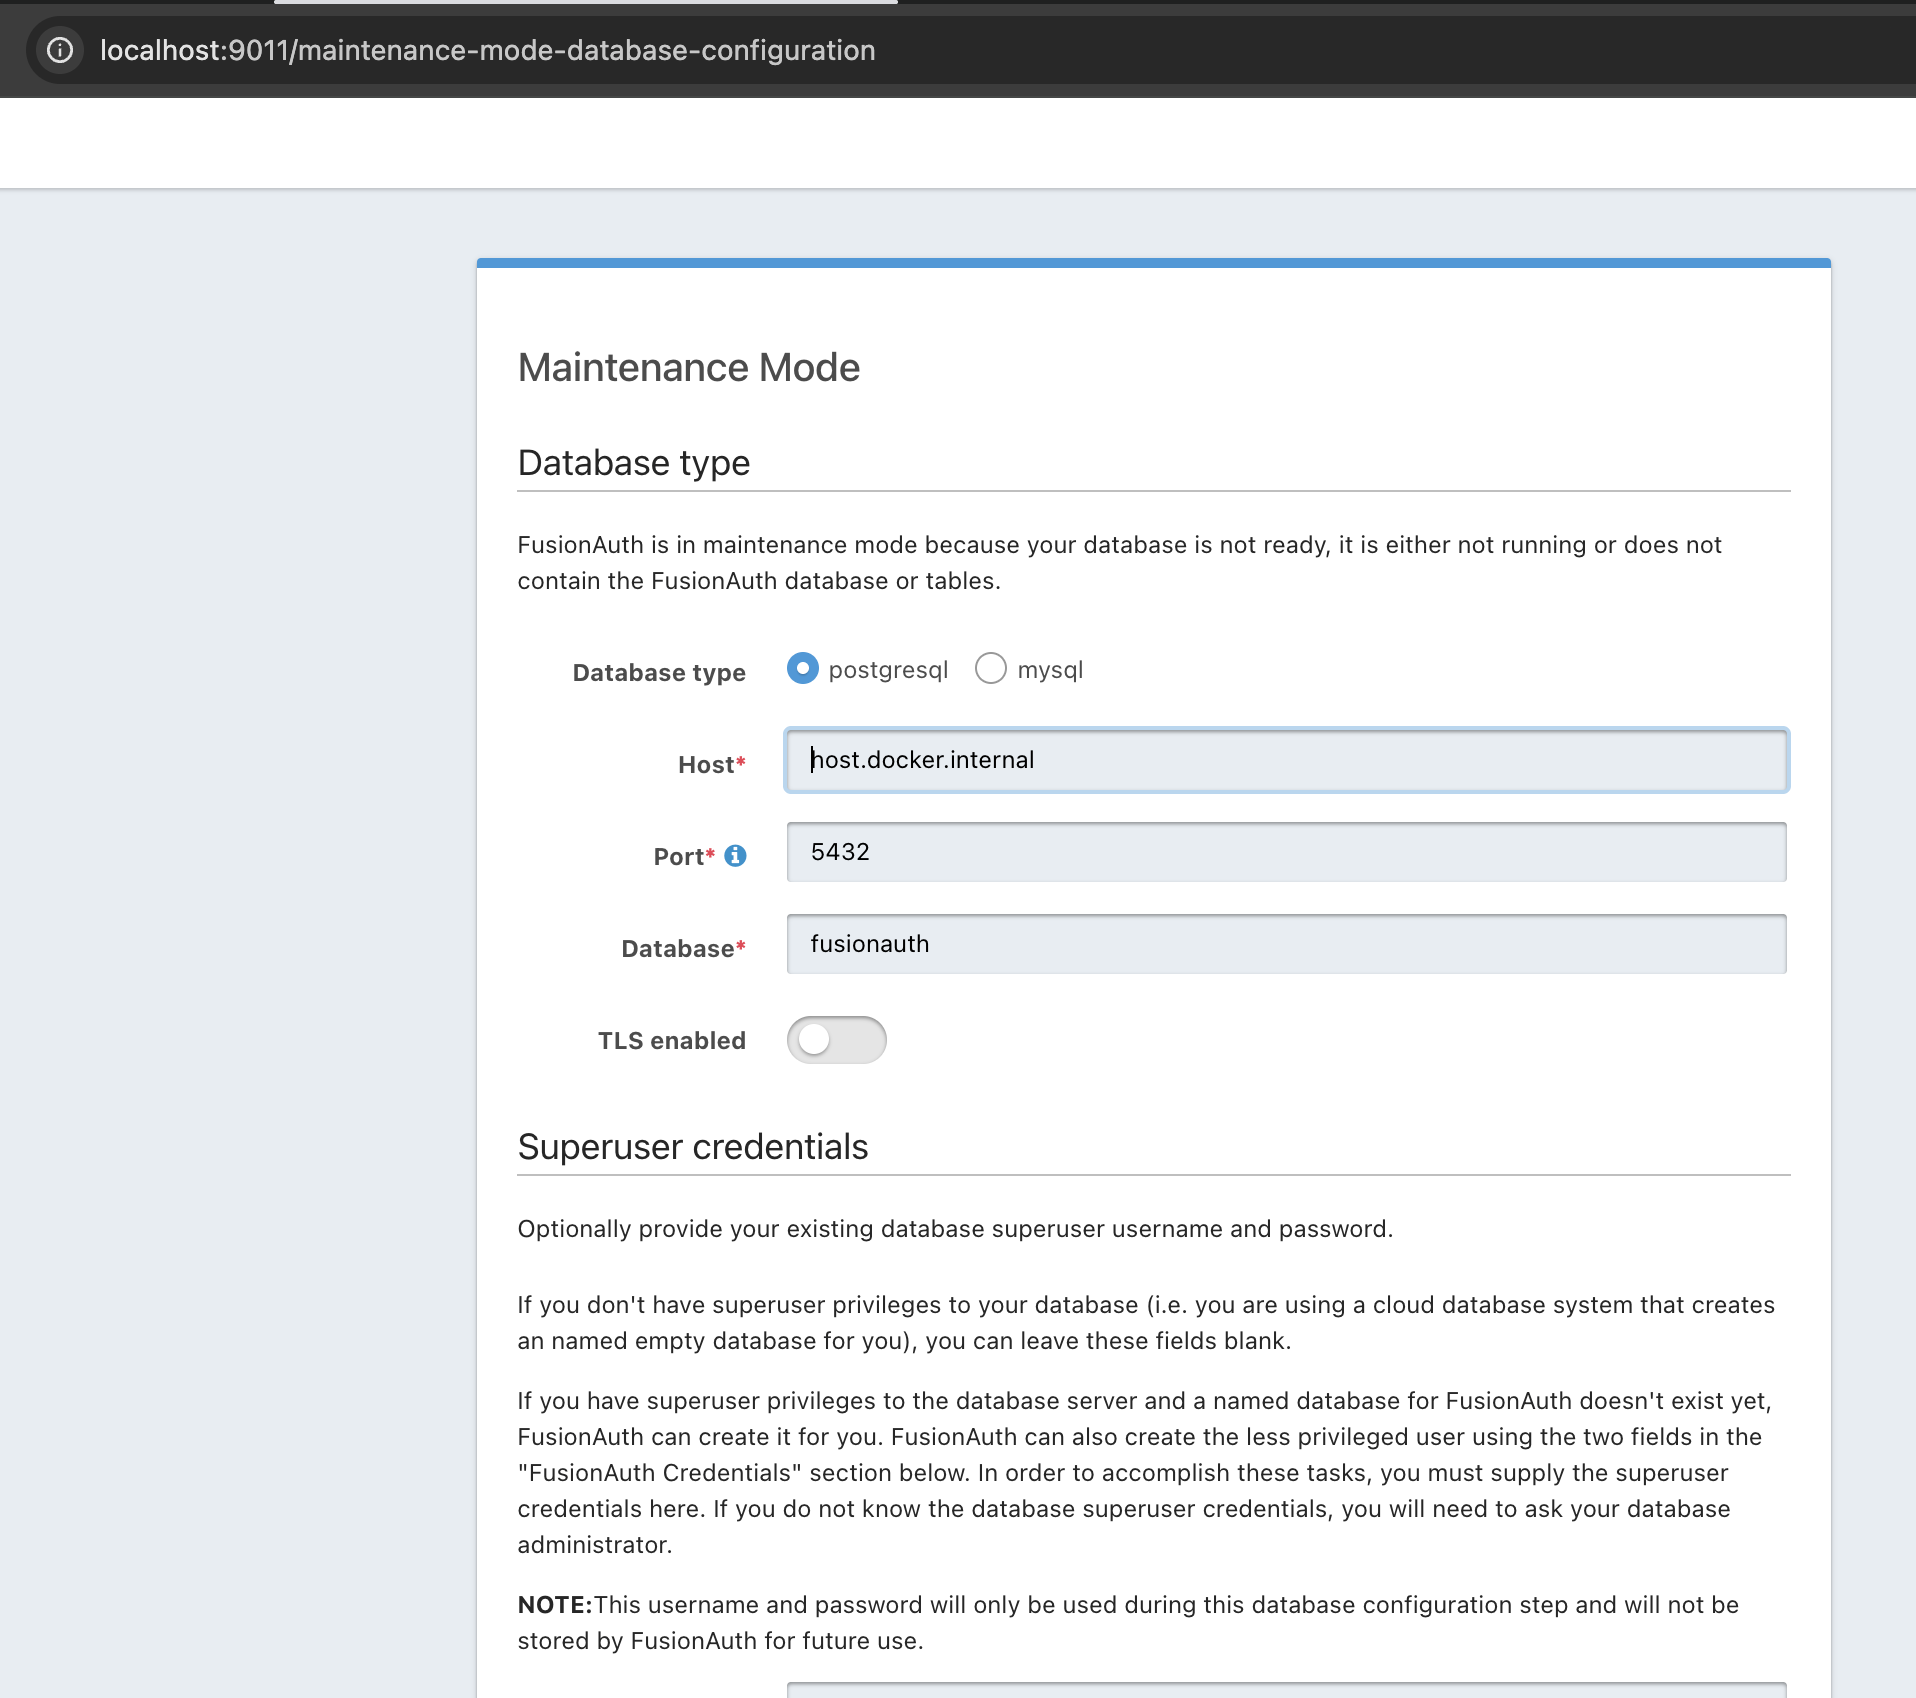
- Access FusionAuth Admin UI:
- Open your browser to
http://localhost:9011 - In maintenance mode, specify the DB host as
host.docker.internaland the port as5432.
- Open your browser to
Configure FusionAuth DB Credentials:
- Under
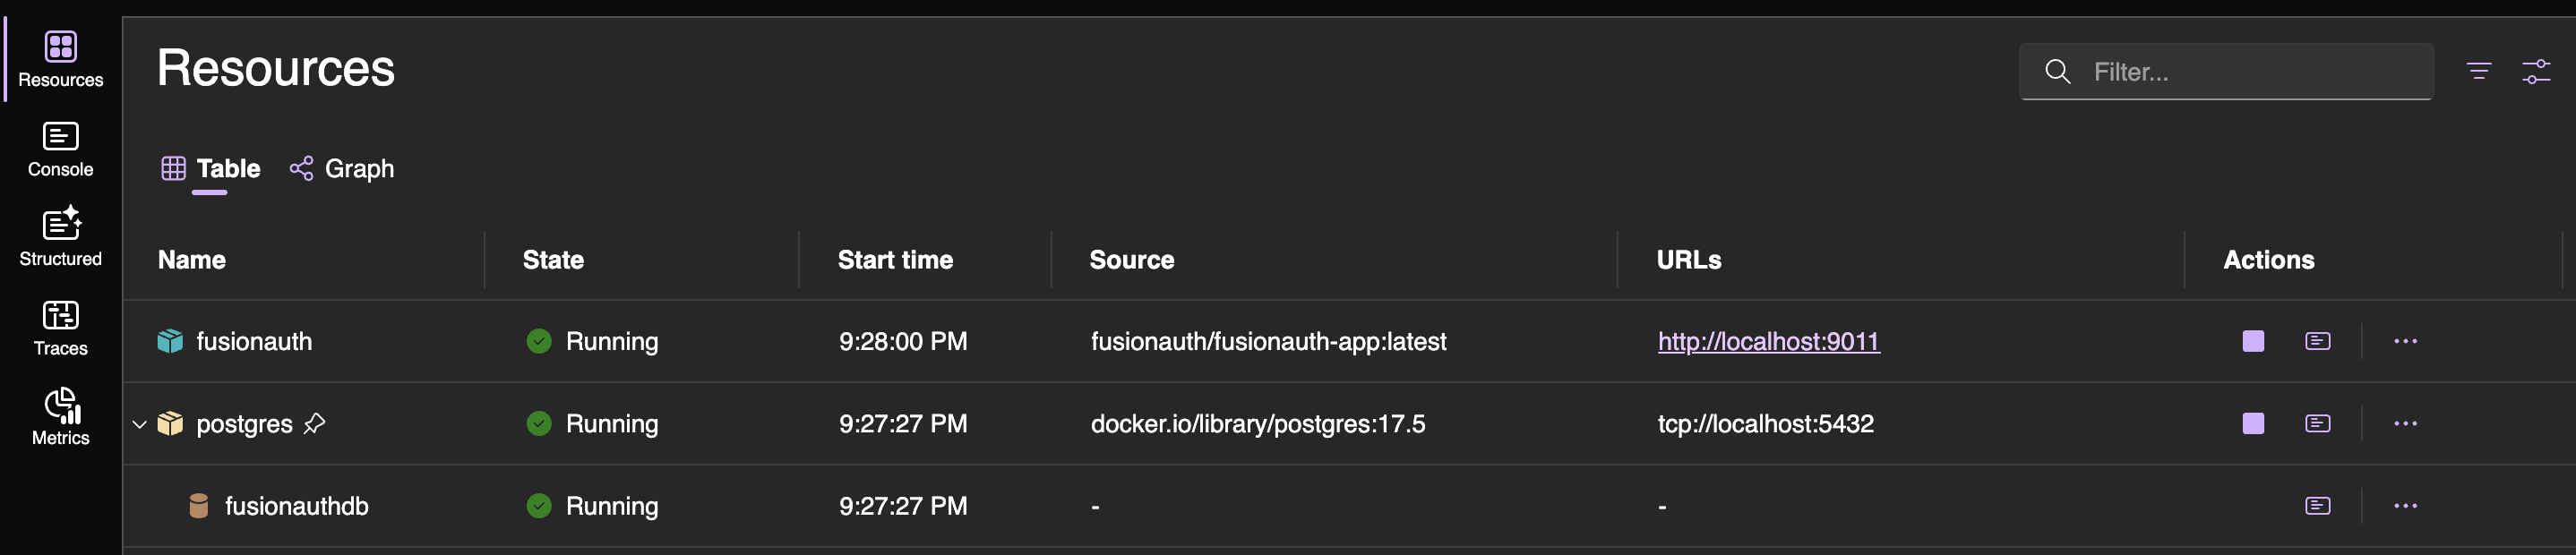
FusionAuth Credentials, enter your DB username and password. This can be found in the Aspire Dashboard in the environment variables of thefusionauthresource.
- Under
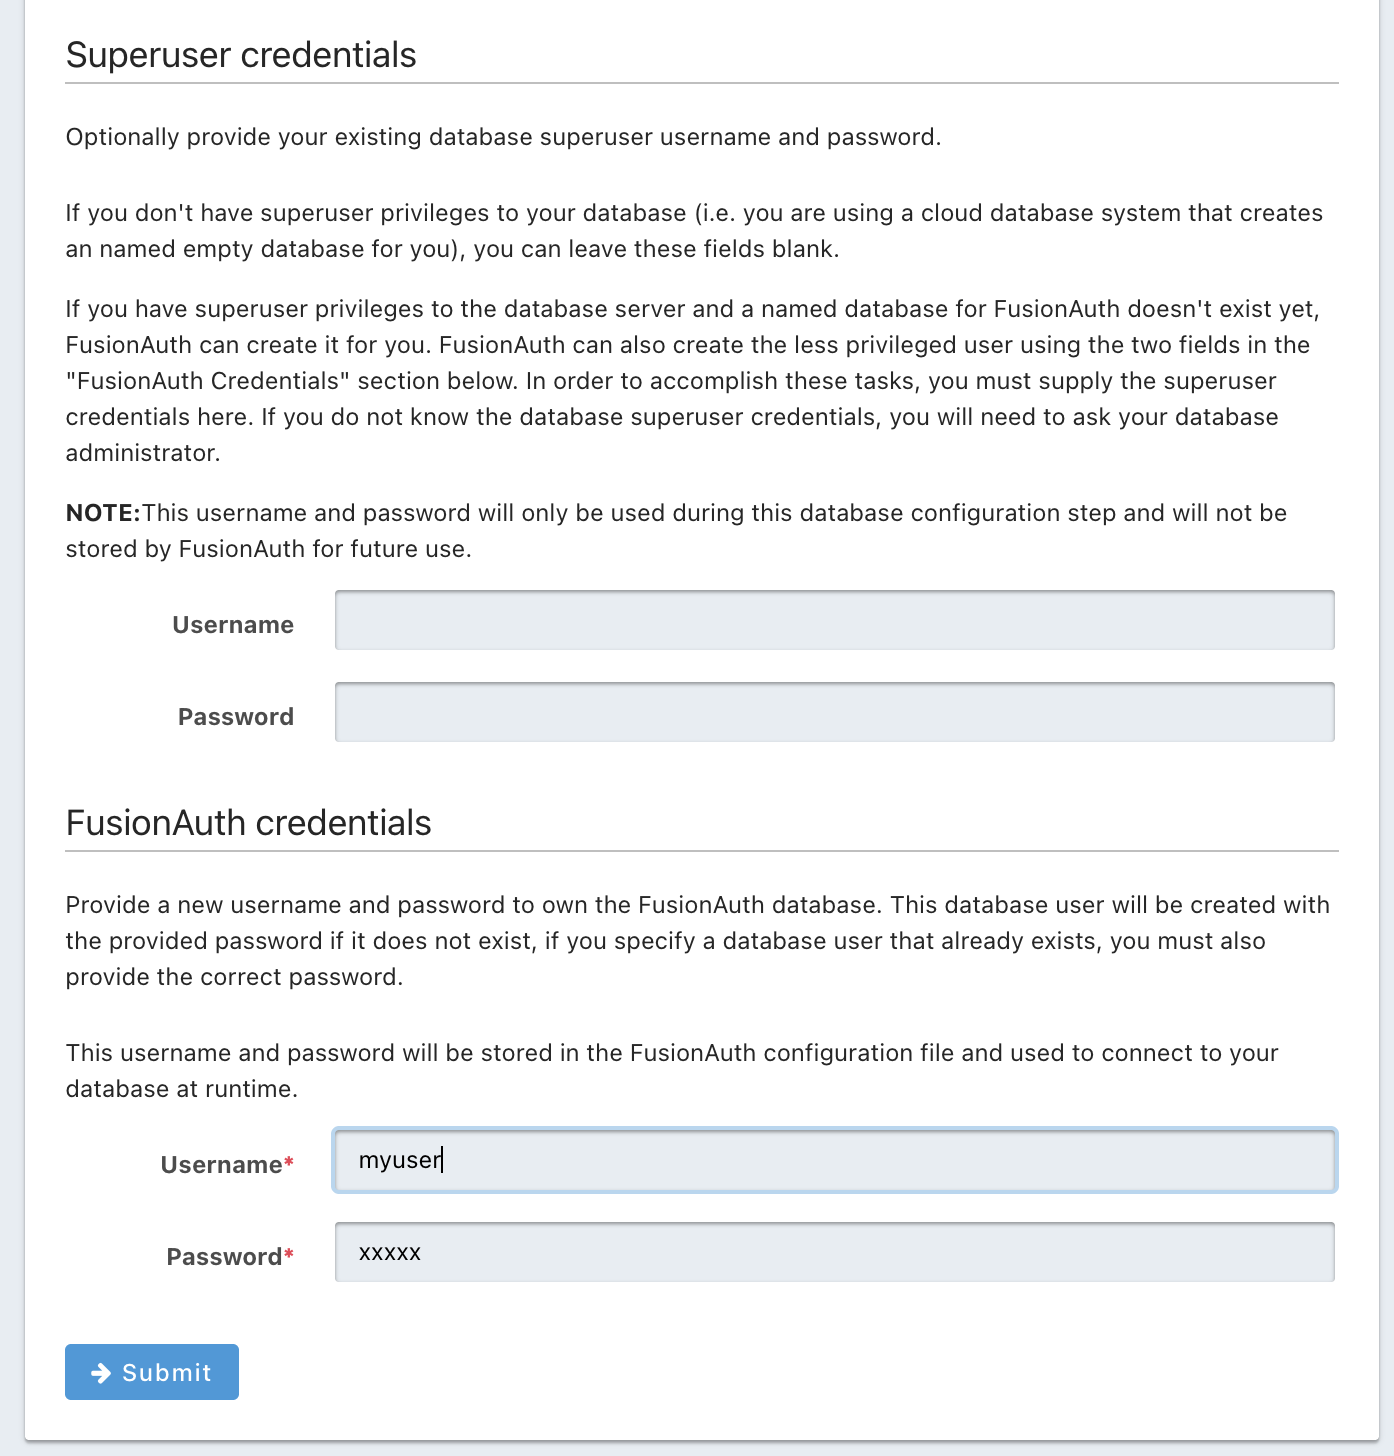
Save and Continue to start FusionAuth:
- Click
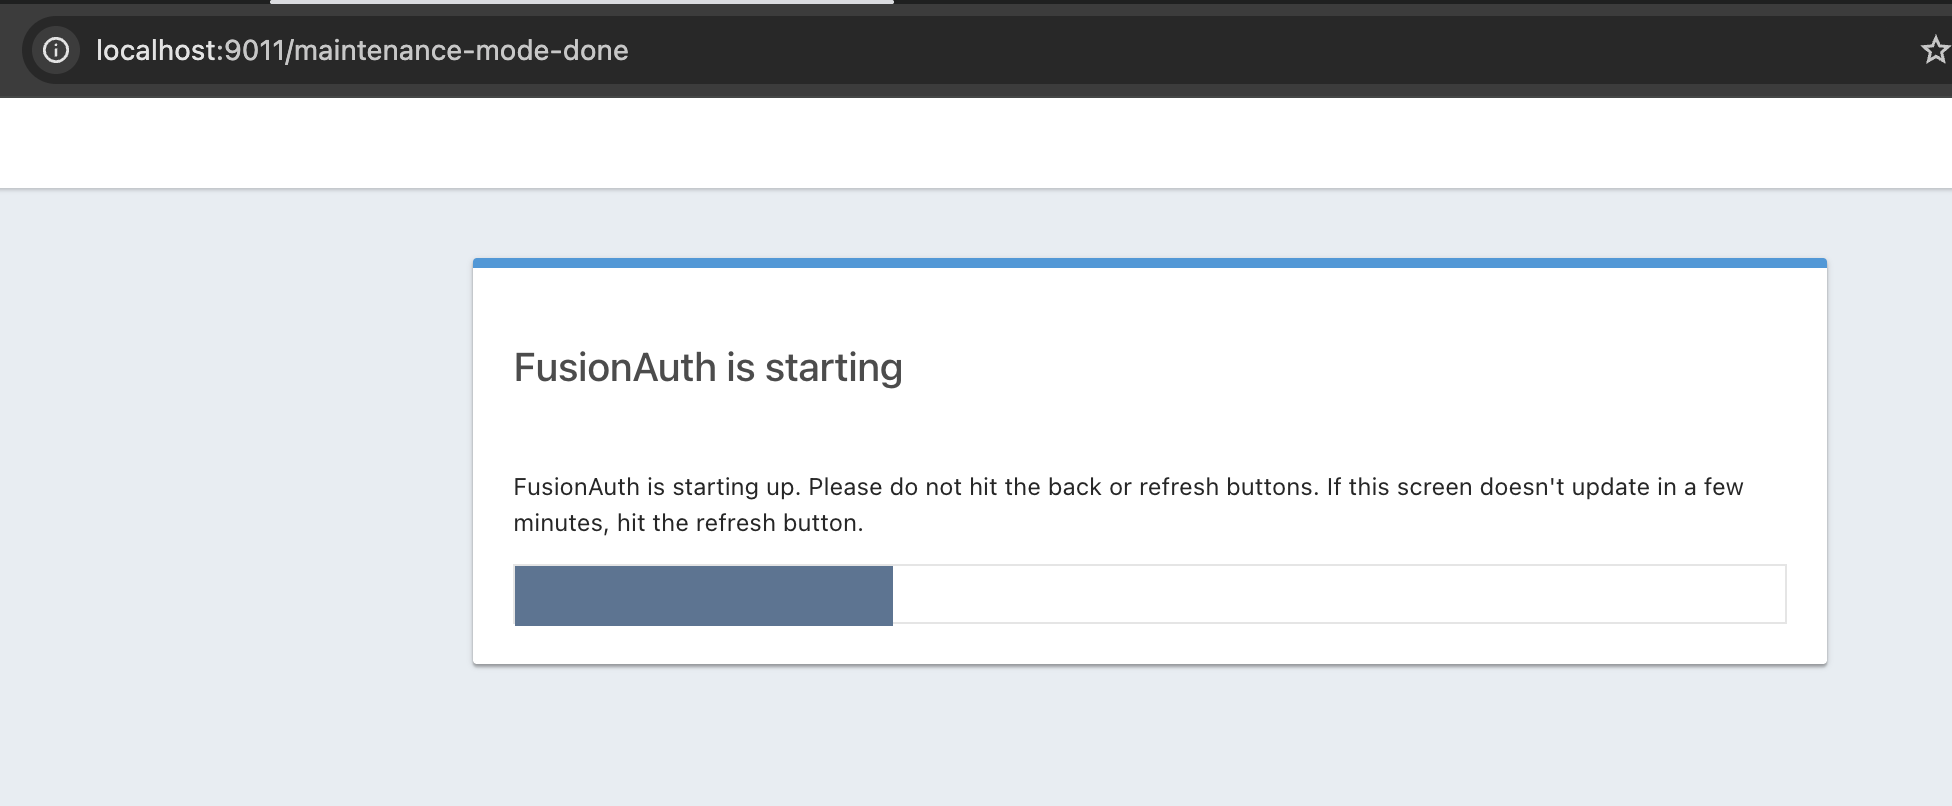
Saveand thenContinue. - Wait for the FusionAuth instance to start.
- Click
Skip the Setup Wizard:
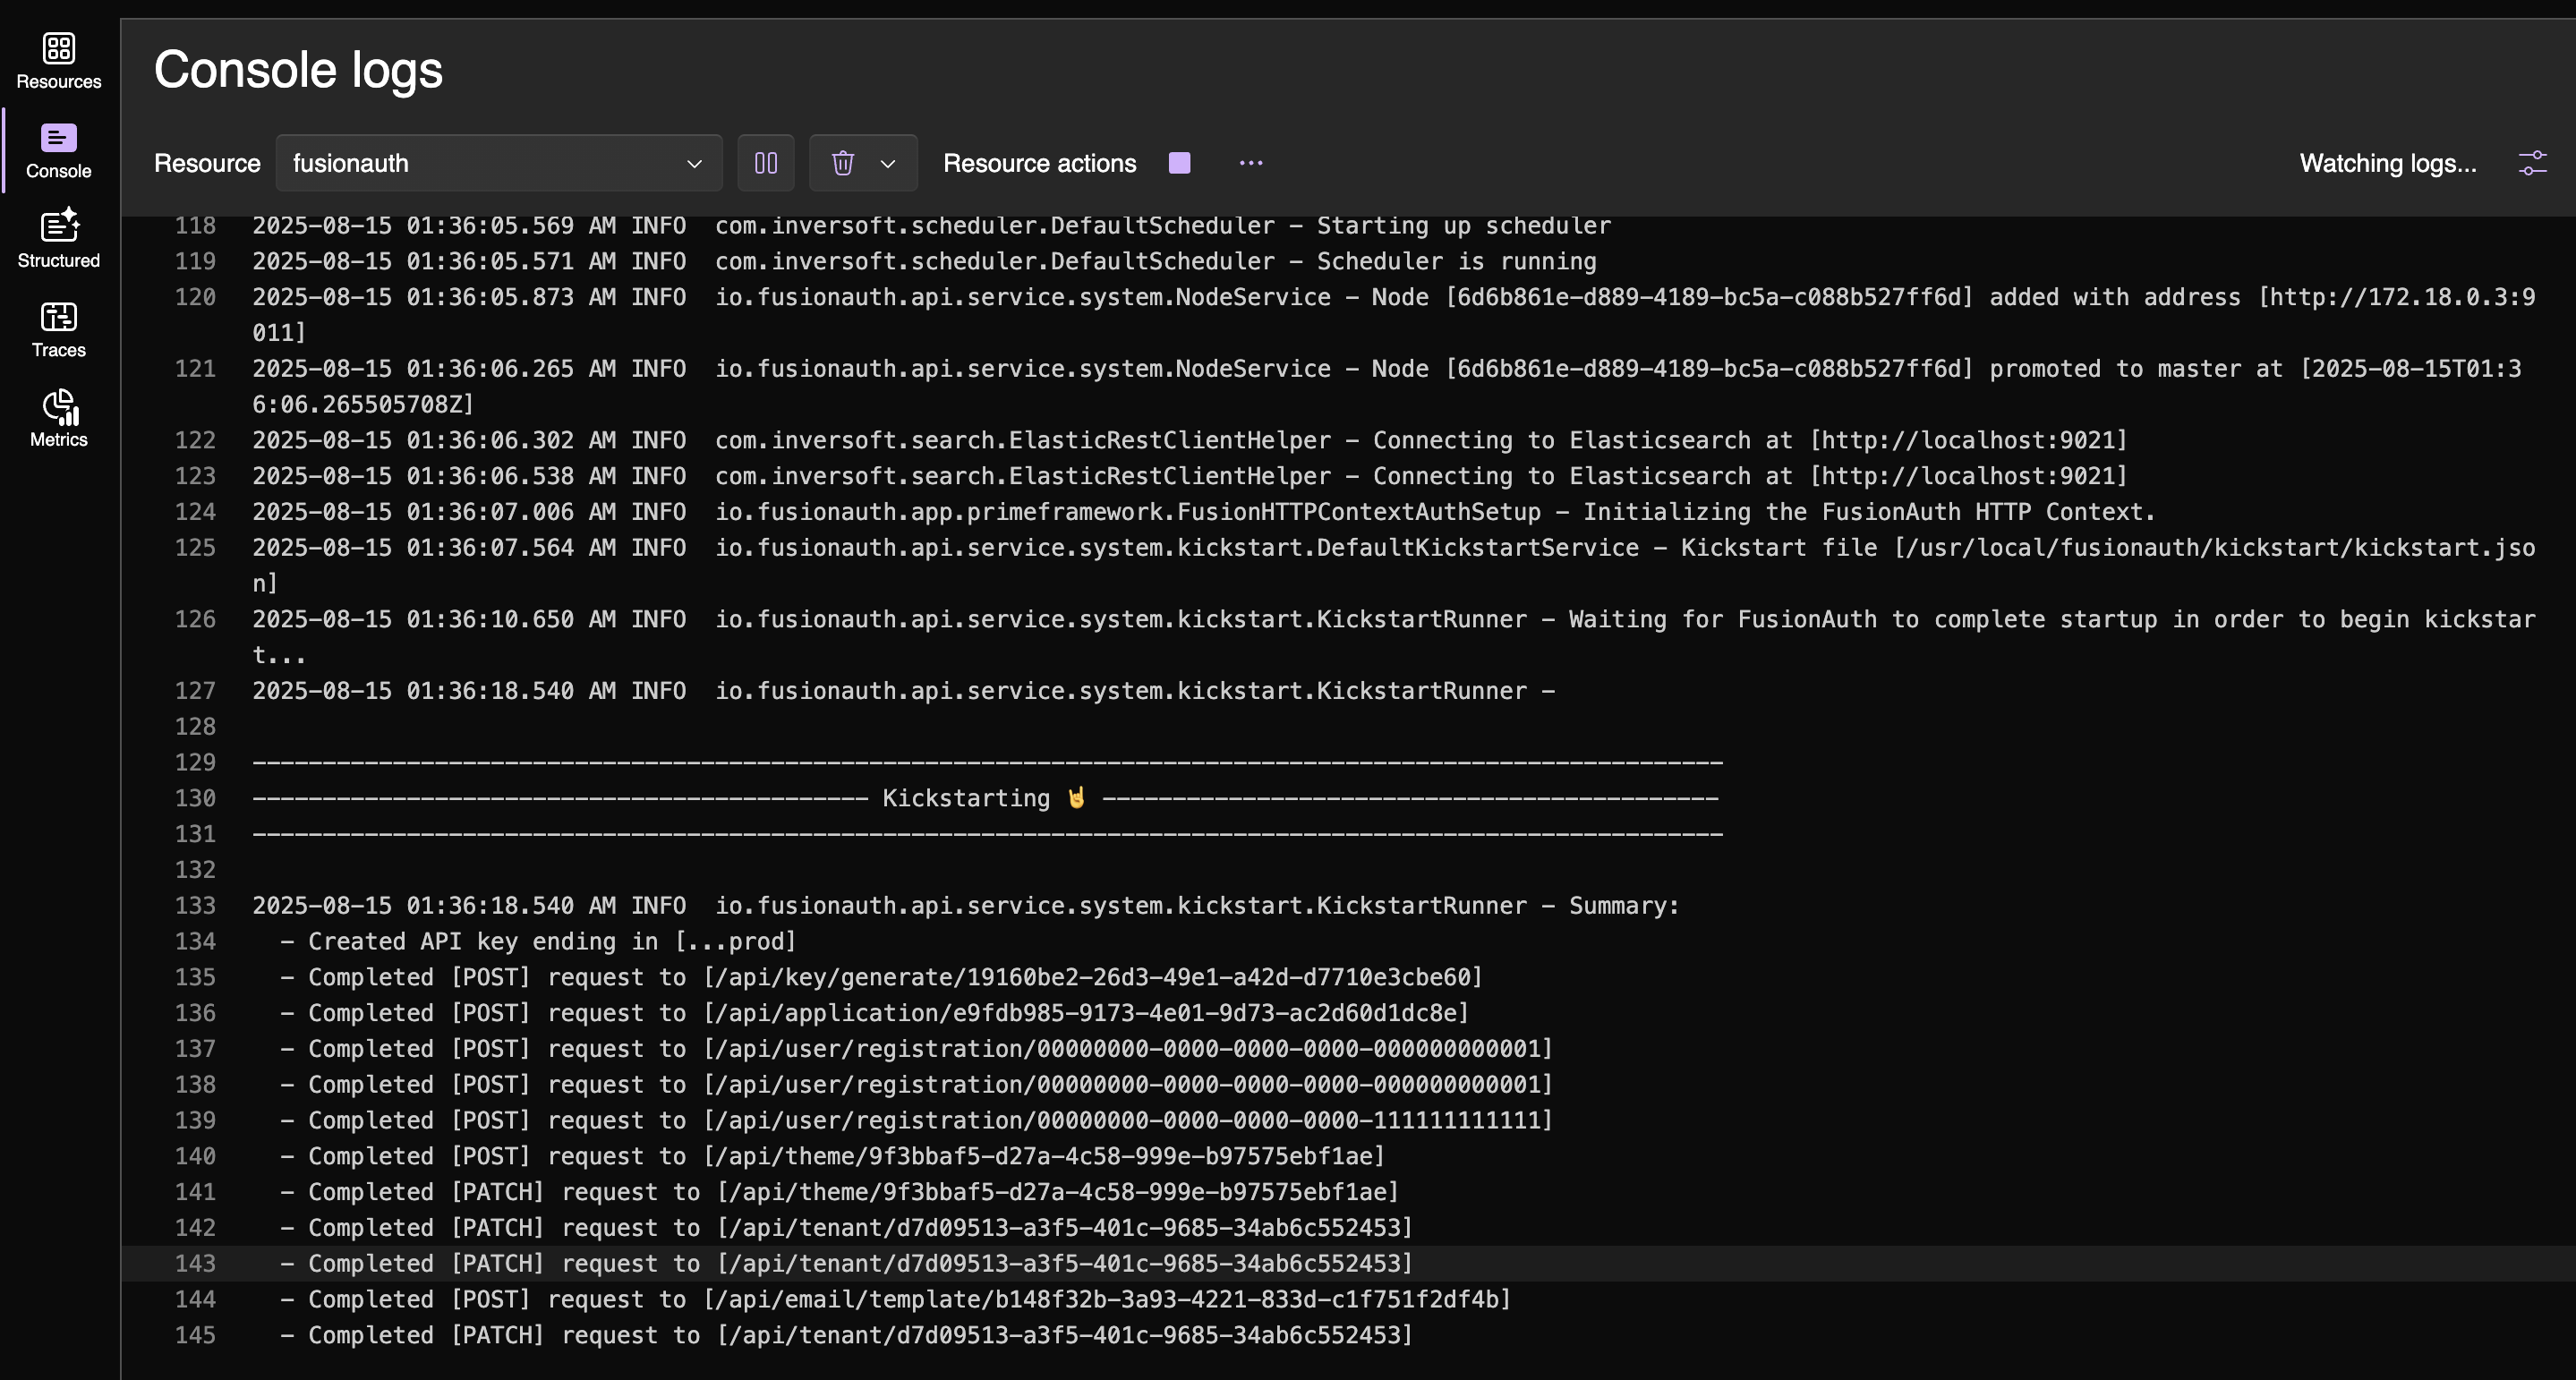
- If your kickstart configuration is correct (you can check the logs of the
fusionauthcontainer to see if the kickstart file is mounted correctly), you should see the Setup Wizard page. You can refresh to skip it if your kickstart configuration is correct.
- If your kickstart configuration is correct (you can check the logs of the
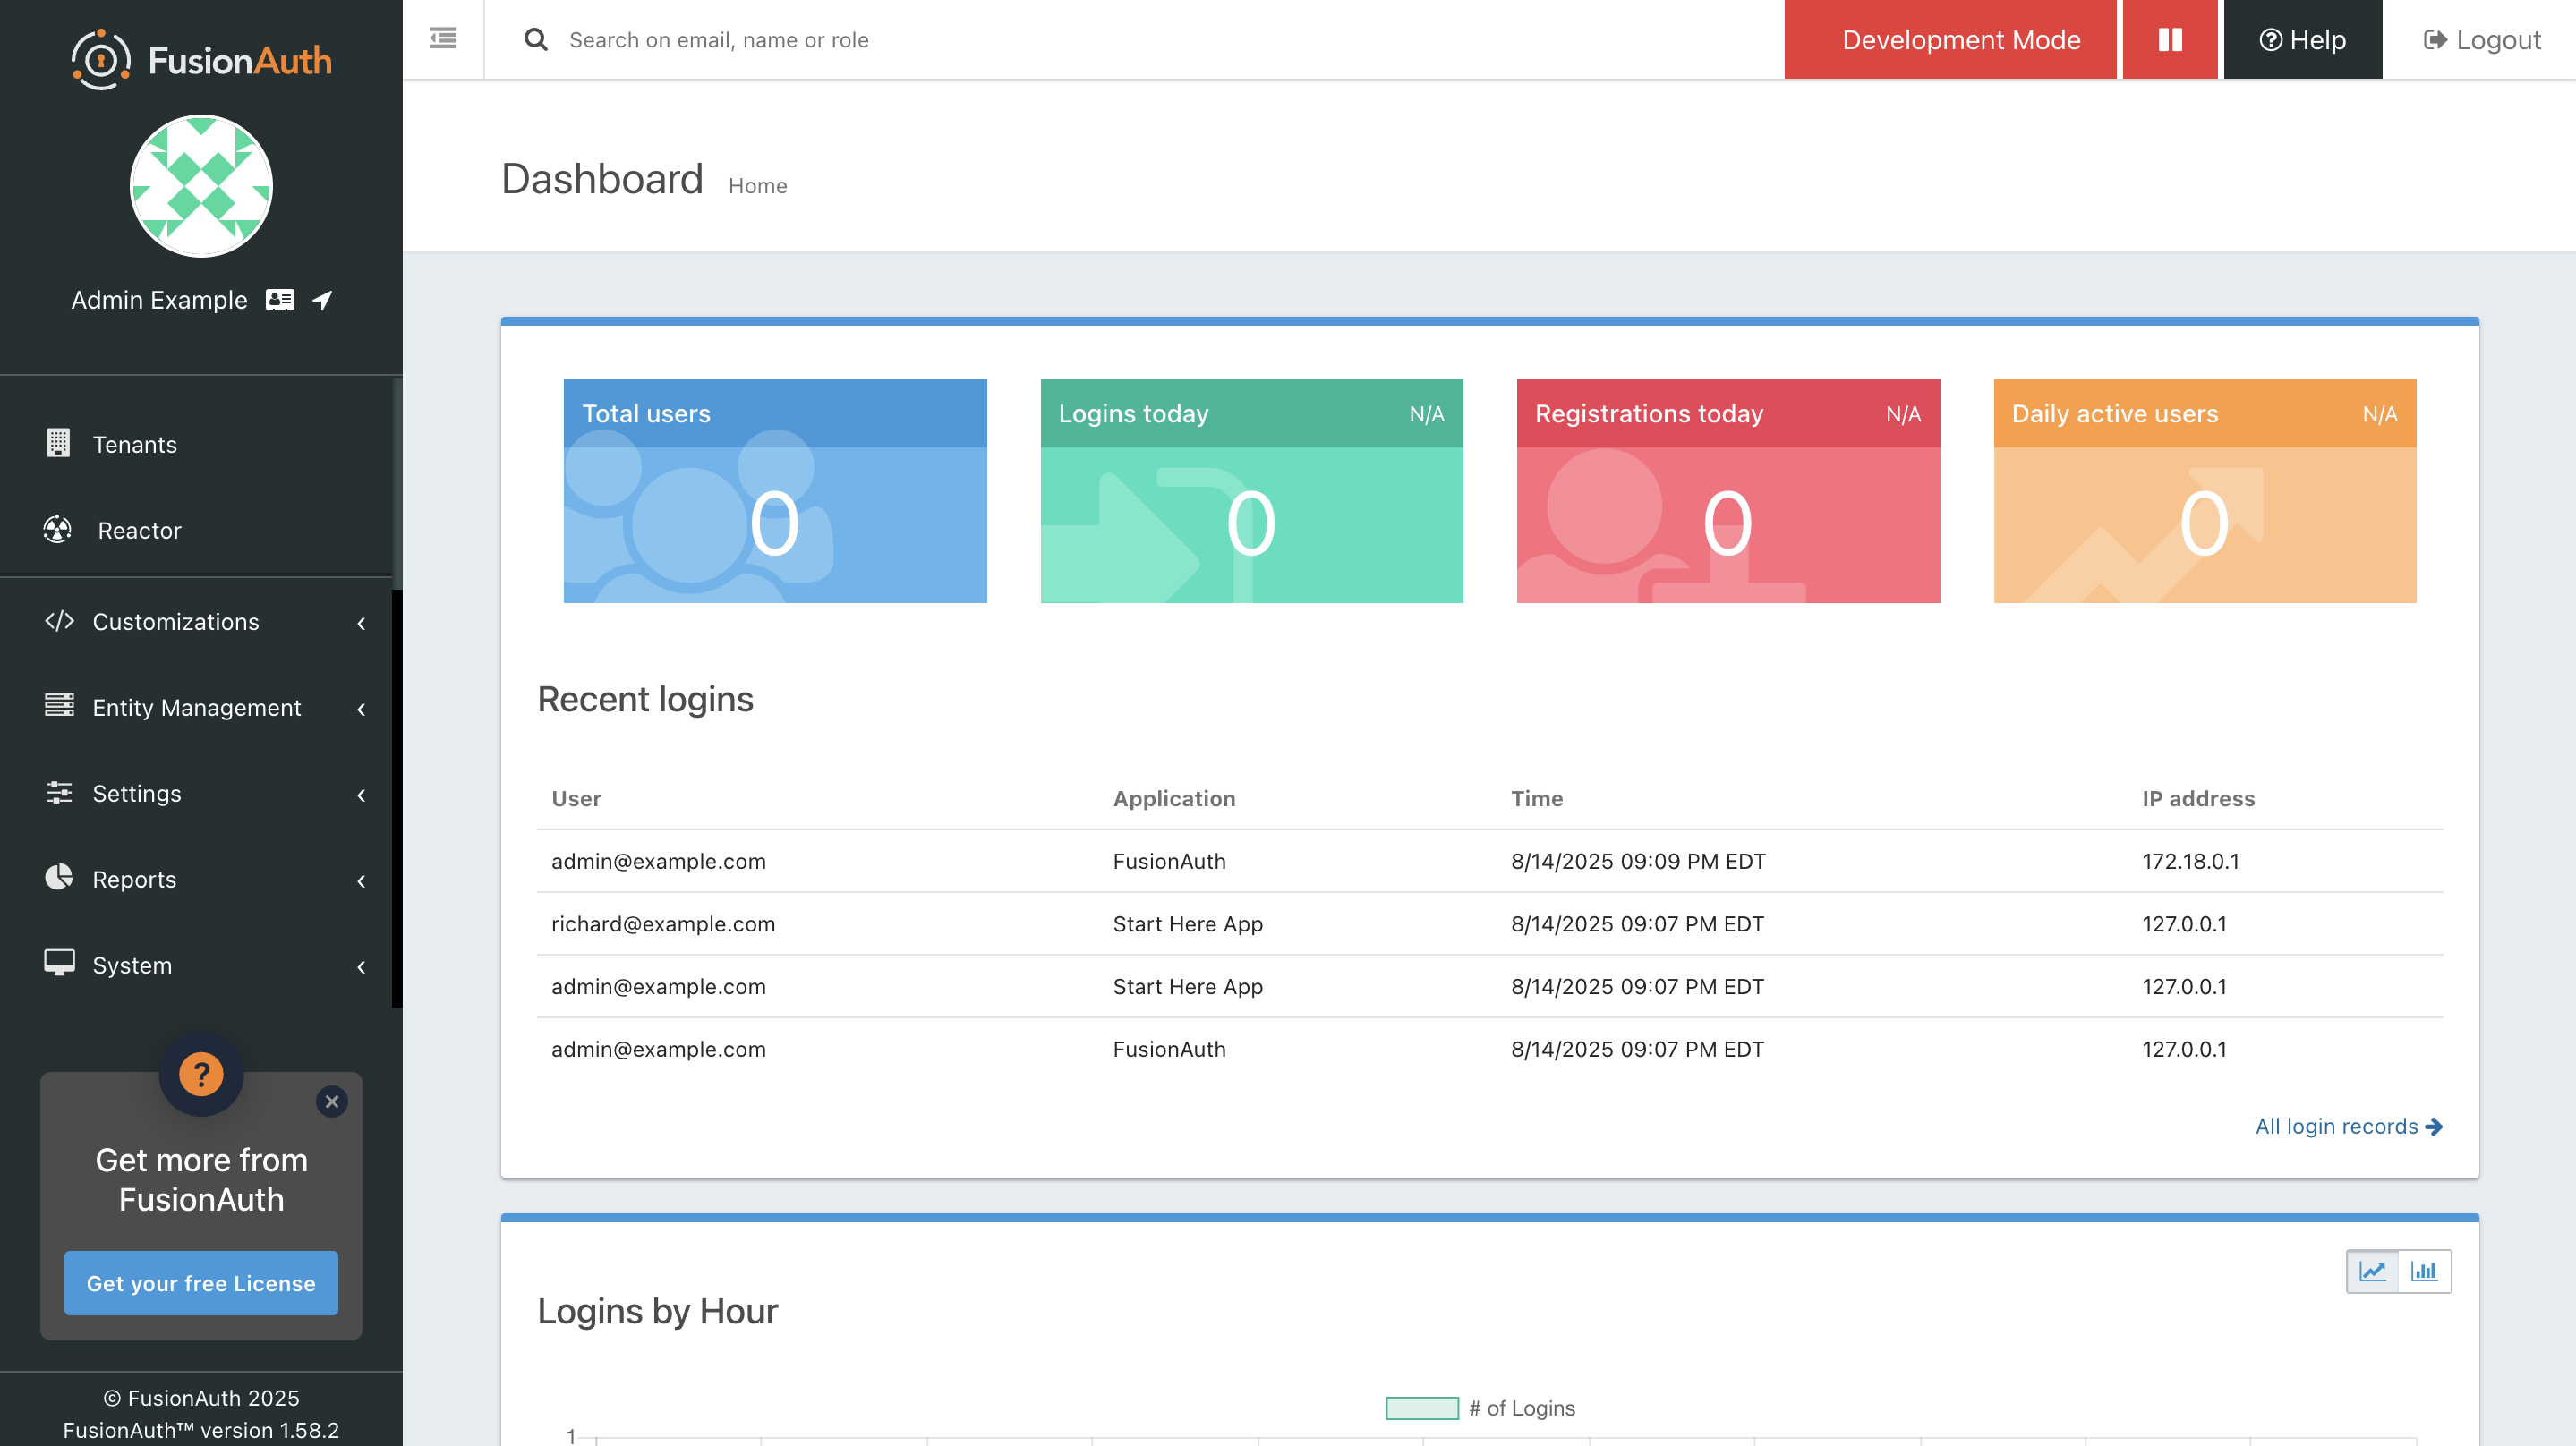
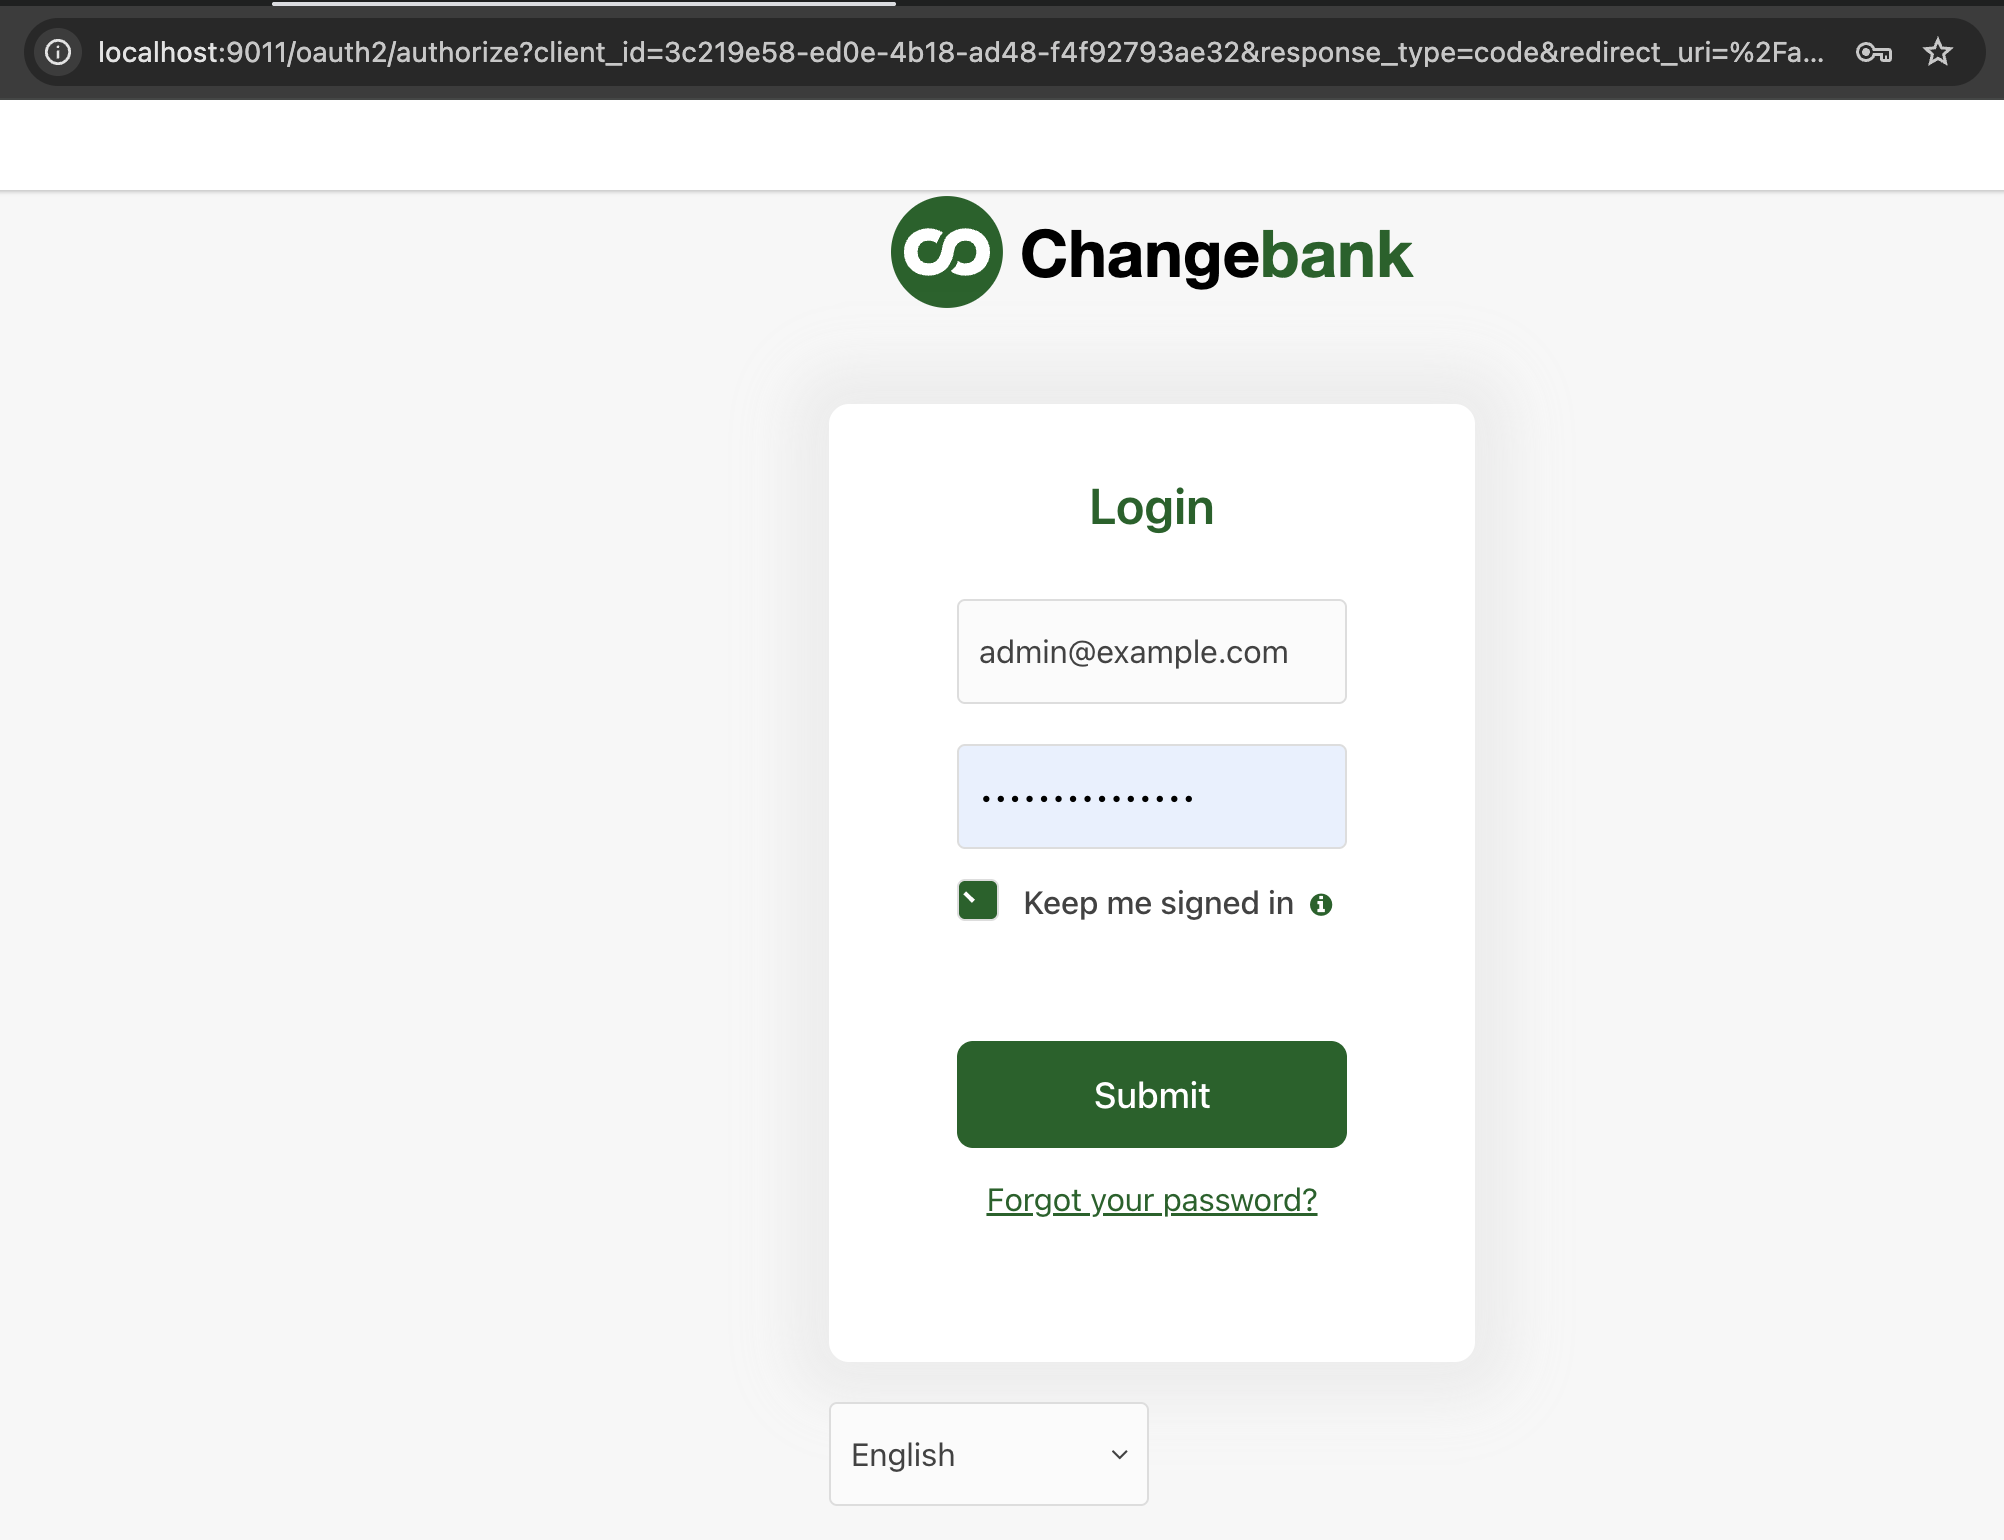
Login to the Admin UI:
- Refreshing should show the admin login page, where you can login with the admin credentials you specified in the kickstart configuration. Default credentials are:
- Email:
[email protected] - Password:
password
- Email:
- Refreshing should show the admin login page, where you can login with the admin credentials you specified in the kickstart configuration. Default credentials are:
- Test the setup:
- The kickstart configuration will have already created:
- An OAuth application called "Start Here App"
- Admin and user accounts
- Custom theme with your styling
- Magic link email templates
- The kickstart configuration will have already created: